How to Scan and Send Documents by Email a Simple Guide
Knowing how to scan and send a document by email is one of those skills that feels small but makes a huge difference. At its heart, it's just about turning a physical bit of paper into a digital file and popping it into an email. Simple, right? But it's the key to managing everything from crucial client contracts to that tiny coffee receipt you need for expenses.
Your Quick Guide to Scanning and Emailing Documents
Feeling like you're drowning in a sea of paperwork? We've all been there. Turning those paper piles into clean, digital files you can email is an essential skill for staying organised and looking professional. This guide will walk you through, step-by-step, how to turn any document, from a freshly signed contract to a crumpled-up receipt, into a secure digital file that’s ready to send.
The whole thing really boils down to three main stages.
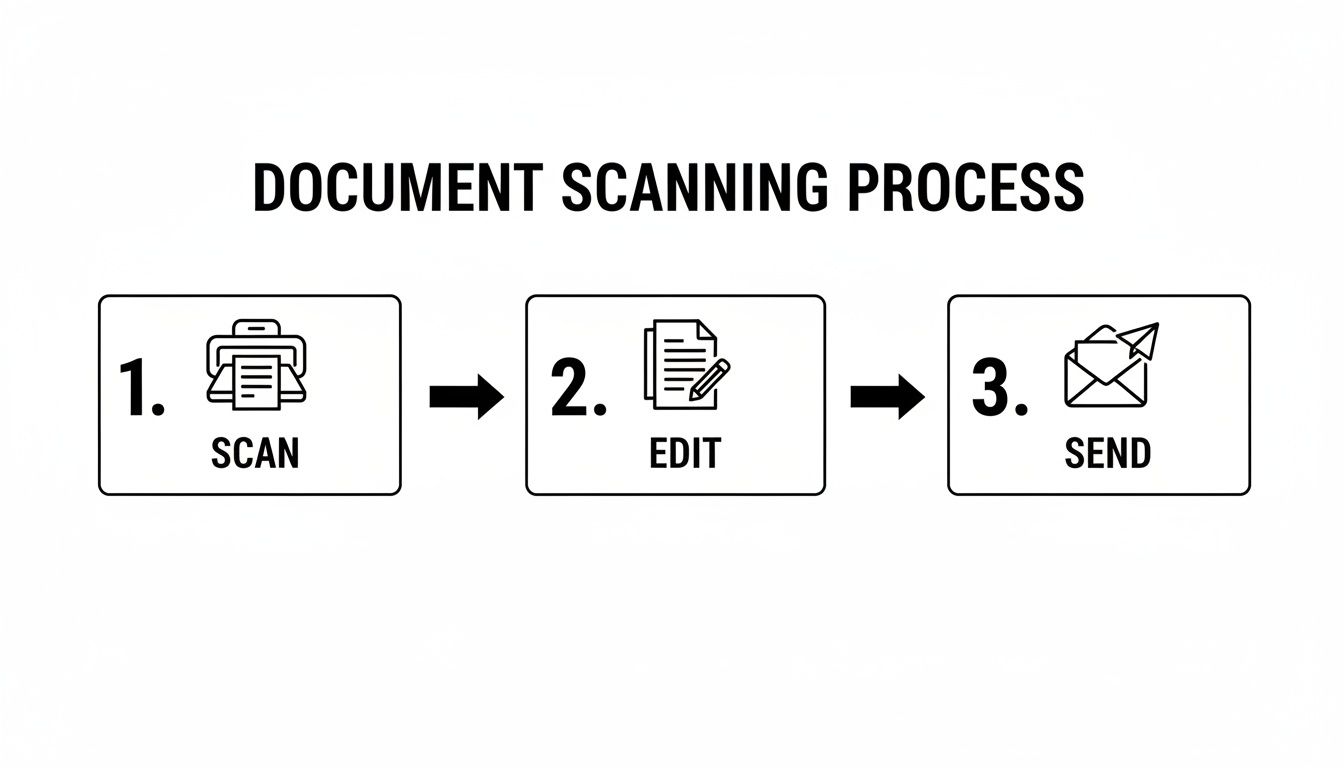
This little visual sums it up perfectly: capture the document, give the file a quick tidy-up, and then send it on its way.
Why Mastering This Skill Matters
Getting the hang of this process does a lot more than just clear your desk. It’s the foundation for really smart document management, which is vital for keeping your finances in order and staying on top of all that business admin.
A smooth workflow means important info never gets lost and is always right there when you need it. Let's be honest, the world is only getting more digital, so these skills are becoming non-negotiable.
A well-organised digital filing system starts with a good scan. Once you have a clear digital copy, you can archive, share, and manage your documents with far greater efficiency than any paper-based system.
This isn’t just a hunch; the numbers back it up. The European document scanner market was valued at a whopping USD 1,875.36 million in 2024 and is set to keep growing. You can read more about the document scanner market's growth to see just how big this trend is.
For freelancers and small businesses, this level of efficiency is a total game-changer. Imagine scanning a receipt and just forwarding it. For someone using Receipt Router, that email automatically gets matched up in FreeAgent and archived in Google Drive. No more manual entry. That’s the power of a good scan.
Using Your Smartphone to Scan Documents
Let’s be honest, the most convenient scanner you have is probably the one in your pocket. Gone are the days of needing a hefty machine for every single receipt or form. Your phone is more than capable of creating sharp, clean digital documents that you can email off in seconds. The trick is knowing how to do it properly.
Just snapping a quick photo won't cut it. A blurry, angled picture looks unprofessional. Instead, dedicated scanning apps and built-in phone features use clever software to automatically find the document's edges, fix any wonky perspectives, and boost the text's clarity. This simple step turns a basic photo into a flat, professional-looking document, and the difference is night and day.
Scanning with Built-in Tools
Most modern smartphones already have fantastic scanning tools baked right in, so you might not even need to download anything. These native features are perfect for those on-the-fly moments, like digitising a contract you’ve just signed.
If you’re on an iPhone, the scanner is cleverly tucked away inside the Notes app.
- Just open a new note (or an existing one).
- Tap the little camera icon and choose Scan Documents.
- Line up the document in the frame, and the app will automatically snap the picture for you. You can keep going to scan multiple pages into a single file.
- When you’re done, hit Save. A perfect PDF will pop right into your note, ready to share.
For Android users, you’ll find a very similar tool built into the Google Drive app. Simply tap the colourful “+” button and select the “Scan” option. It’s incredibly handy because your freshly scanned PDF is automatically saved to your cloud storage, ready to go.

When to Use a Third-Party App
While the built-in options are great for quick jobs, sometimes you need a bit more firepower. This is where dedicated third-party scanning apps really shine, especially if you find yourself scanning documents all the time.
The best scanning apps do more than just capture an image; they offer game-changing features like optical character recognition (OCR) to make your PDFs searchable, and smart integrations to automate your workflow. This is where you move from simple scanning to smart document management.
It might be time to look for a dedicated app if you need to:
- Batch scan a huge stack of documents in one go.
- Automatically upload every scan to services like Dropbox, Evernote, or your accounting software.
- Make the text searchable using OCR technology (an absolute lifesaver for finding old invoices).
- Add your signature or other notes directly onto the scanned file.
For anyone drowning in paperwork, exploring some of the top apps that scan receipts and documents can be a massive time-saver. Finding the right tool can completely streamline how you handle your admin.
Top Tips for a Perfect Scan
It doesn’t matter what app you end up using; a few simple techniques will make a world of difference to the quality of your scans. Getting these basics right is the secret to a document that looks clean and is genuinely easy for someone else to read.
- Find good, even light. Natural daylight near a window is your best friend. Try to avoid harsh overhead lights that cast weird shadows across the page.
- Keep it flat. A creased or curled piece of paper will always look distorted. Smooth it out on a desk, a clean floor, or a countertop before you scan.
- Use a dark background. This is a pro tip. Placing a white document on a dark, plain background helps the app’s automatic edge detection work its magic much more accurately.
- Hold steady! Do your best to keep your hand still and hold the phone directly above the document. Make sure you can see all four corners in the frame before you capture it.
Getting the Best Results from a Flatbed Scanner
Your smartphone is brilliant for a quick scan on the go, but sometimes you need the heavy-duty option. For digitising important records, archiving stacks of paperwork, or sending a flawless multi-page contract, nothing beats the quality you get from a dedicated flatbed scanner or a multifunction printer. They simply offer more control and ensure every last detail is captured perfectly.
If you’re using an all-in-one device, it’s worth getting to know the full capabilities of your laser printer scanner to get the best possible results. Most modern scanners connect to your computer with zero fuss, and their software is designed to walk you through the process. But the real magic happens when you dial in the right settings.
This level of control really matters. With UK professionals wrestling with around 120 emails daily, endless manual scan-to-email cycles are a huge productivity killer. It’s a bigger issue than you might think; HMRC reports that a staggering 72% of self-employed individuals miss out on claiming expenses, losing an average of £1,500 a year. This problem has only been made worse by a 20% rise in international transaction documents needing to be scanned since Brexit.
Mastering Your Scanner Settings
Once you fire up your scanner’s software, you’ll be faced with a few key options. Nailing these settings is the secret to getting a professional-looking scan without creating a ridiculously large file that clogs up someone’s inbox.
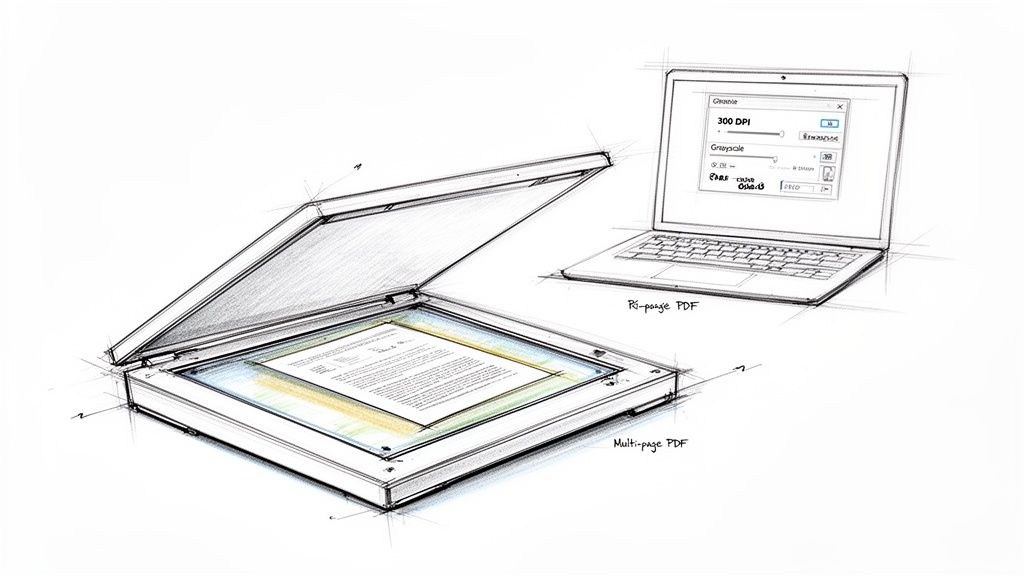
- Colour Mode: It's simple. Use ‘Colour’ for photos or anything where colour matters, ‘Greyscale’ for documents that mix text and images, and ‘Black & White’ for plain text pages. This one choice has a massive impact on your final file size.
- Resolution (DPI): This stands for ‘Dots Per Inch’, and it’s a big one. For almost any document you plan to email, 300 DPI is the gold standard. It’s crystal clear for on-screen viewing and printing but won’t create a huge file. Only bother with higher settings like 600 DPI if you’re archiving high-quality photographs.
- File Format: In nearly every case, you’ll want to choose PDF (Portable Document Format). It’s the universal language of documents, keeping all your formatting intact. Most scanners even have a handy ‘Scan to PDF’ button to make it easy.
Pro Tip: The most useful feature by far is the ability to create a single, combined PDF from multiple pages. Look for a setting like "Scan multiple pages" or an option to "Add page" after your first scan. Sending one tidy PDF is so much more professional than attaching a dozen separate image files.
Creating a Multi-Page PDF
This is where a proper scanner truly earns its keep. When you’ve got a multi-page report or a chunky contract to scan, you don’t want to be faffing about with individual files.
Just look for the multi-page scanning feature in your software before you start. After you scan the first page, the program will usually ask you to pop the next page on the glass and hit ‘Scan’ or ‘Add’. Keep doing this until you’ve scanned every page.
When you’re all done, click ‘Finish’ or ‘Save’. The software will then work its magic, stitching all those individual scans into one neat, ordered PDF document, ready to attach to your email.
Getting Your Scans Ready to Email
Right, so you've turned a physical bit of paper into a digital file. That’s half the battle, but don't hit 'send' just yet. A few quick checks before that file leaves your outbox can make a world of difference in how it's received, or if it even gets there at all. This is all about smart file prep.
Having the scan is one thing, but making sure it’s in the right format, has a sensible name, and isn't so big it clogs up someone's inbox is just as important. A minute spent here saves a lot of hassle later.
Choosing the Best File Format
When you’re sending scanned documents, the file format you pick matters more than you might think. For pretty much any professional or personal document, there's a clear winner.
- PDF (Portable Document Format): This is your best bet 99% of the time. PDFs are the gold standard for a reason. They lock in all the formatting, so what you see on your screen is exactly what your recipient will see, no matter what computer or phone they're using.
- JPG (or JPEG): Save this one for single, high-quality images. Think photos or detailed graphics. If you've scanned a simple, one-page flyer and the other person just needs it as an image, a JPG is fine. But for a multi-page contract or an official form, it just doesn't look as professional.
After scanning, converting your files to PDF is almost always the right move for emailing. You can learn more about creating PDFs that look sharp and professional. It's the simplest way to make sure your document is easy for anyone to open and read.
Why File Names Actually Matter
Picture this: an email lands in your inbox with an attachment called scan_001.jpg. You've got no clue what it is or why it's there. A clear, descriptive file name, on the other hand, builds trust and helps everyone stay organised.
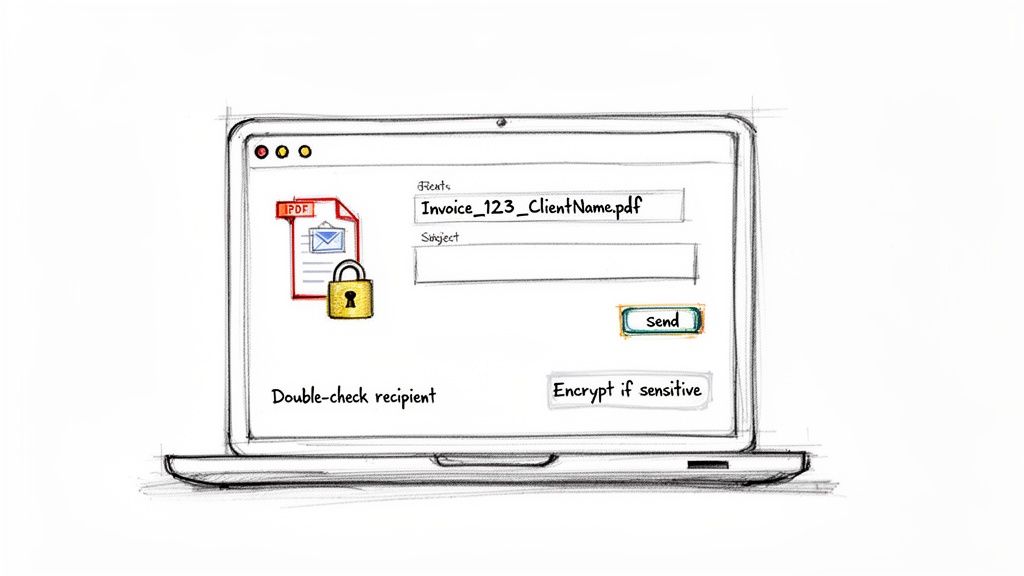
A good file name is short but tells you exactly what's inside. A simple formula I always use is: [DocumentType][Identifier][YourName/Business].pdf
So instead of that generic name, you get something instantly useful:
Invoice_4815_AcmeLtd.pdfContract_Proposal_JaneSmith.pdfExpenseReceipt_Oct22_Coffee.pdf
This tiny change makes your attachment look professional and easy to find later.
Naming your files properly is one of the easiest ways to come across as organised and considerate. It takes the guesswork out for the recipient and makes your documents searchable in their inbox.
Keeping Your File Size in Check
One of the biggest tripwires when emailing scans is the file size. Most email providers have a cap on attachments, usually around 25MB. A high-quality, multi-page colour scan can blow past that limit without you even realising, causing your email to bounce right back.
If your PDF is looking a bit chunky, don't worry. There are loads of free online tools that can shrink it down without making it look fuzzy. Just search for "compress PDF free" and you'll find plenty of simple drag-and-drop websites. Compressing a file can often slash its size by 50% or more, making sure it zips into your recipient's inbox without a problem. It’s a vital last check before you attach and send.
Right, you've done the hard work of scanning and optimising your document. Now for the final hurdle: getting it attached and sent off securely. This last part might seem like a no-brainer, but a few small checks can make a massive difference in how professional you look and how safe your information is.
Whether you’re a Gmail loyalist, an Outlook power user, or an Apple Mail fan, the process is pretty much the same. You're looking for that trusty paperclip icon; it's the universal sign for "add an attachment." Give it a click, and your file browser will pop up, ready for you to find that beautifully scanned document.
If you’re sending images instead of a PDF, the process is similar, but there are a few extra things to keep in mind. We’ve got a whole guide on how to attach pictures in email that dives into the specifics for that.
Hold On… Before You Hit Send
Getting the file attached is one thing, but what you do in the moments before you click "Send" is what really counts. A quick pause here can save you from all sorts of headaches, from looking unprofessional to accidentally causing a major data leak.
I can't tell you how many times I've seen things go wrong at this stage. Before your email flies off into the digital ether, always run through this quick mental checklist:
- Check the recipient's email address. Twice. Autocomplete is a fantastic tool until it helpfully suggests the wrong "David" and you send a confidential contract to your old university mate instead of your accountant.
- Write a subject line that means something. Don't just leave it blank. "Invoice 4815 from Your Company" or "Signed Contract for Project Alpha" tells the recipient exactly what they're getting and helps them find it later.
- Give the attachment one last look. We’ve all done it: sent an old version or the wrong file entirely. Just click to open the attachment and make sure it’s the right one.
This little routine takes less than 30 seconds but can save you a world of trouble.
Let’s Talk About Security
Here’s something a lot of people don’t realise: standard email is not very secure. Think of it less like a sealed, registered letter and more like a postcard that anyone could potentially read along the way.
For anything sensitive, we’re talking financial records, legal documents, personal ID, you absolutely need another layer of protection. The easiest way to do this is to password-protect your PDF before you even attach it. Most PDF programs (including free ones) have this feature built-in. Just set a strong password and then share it with your recipient through a different channel, like a quick text or a phone call.
Pausing before you send isn't just about avoiding typos; it's a critical security habit. Confirming you've attached the right document to the right person is your first line of defence against accidental data breaches.
This isn’t just me being paranoid. The numbers are pretty stark. Inefficient document handling costs UK SMEs a staggering £4.5 billion a year. Worse still, a worrying 12% of them have been victims of phishing attacks through unsecured email attachments in 2024 alone.
With most email clients not doing a great job of scanning attachments for threats, the responsibility really falls on us, the senders. Taking a moment to secure your file is a small effort for some serious peace of mind.
Email Client Attachment Guide
To make things even simpler, here's a quick cheat sheet for attaching files in the big three email clients.
| Email Client | Attachment Method | Pro Tip |
|---|---|---|
| Gmail | Click the paperclip icon at the bottom of the compose window. | Drag and drop files directly from your desktop into the compose window for a super-quick attachment. |
| Outlook | Click "Attach File" in the "Message" tab of the top ribbon. | Outlook suggests recent files you've worked on, which can be a real time-saver if you've just saved your scan. |
| Apple Mail | Click the paperclip icon in the top-right of the new email toolbar. | Use the "Mail Drop" feature for large files; it uploads them to iCloud and sends a link instead. |
While the icons and labels might differ slightly, the core action remains the same: find the paperclip, select your file, and you're good to go.
A Smarter Workflow for Business Receipts
Let's be honest, constantly scanning and emailing documents, especially piles of business receipts, feels like a groundhog day of admin work. But what if you could just… stop? What if you could chop out the repetitive emailing part and have the whole process run itself after the scan? This is where a much smarter workflow comes in.
Instead of scanning a receipt, opening your email, attaching the file, and sending it off to your accountant or bookkeeping software, you can adopt a far simpler method. This is exactly what tools like Receipt Router were built for, specifically to tackle this headache for freelancers and small businesses here in the UK.
The Forwarding Fix
The concept is brilliantly simple. Rather than drafting a new email every single time you have a receipt, you just forward the scanned document to a unique, dedicated email address. Once it lands there, the system does all the heavy lifting for you.
This one tiny change in your routine has a massive knock-on effect. It can automatically:
- Sort your expenses into tidy digital folders.
- Match the receipt to the right bank transaction in your accounting software.
- Create a secure, searchable backup of every single receipt.
It’s the ultimate solution for anyone drowning in a messy inbox or battling with chaotic expense management. It’s a core principle of creating an effective document management system that genuinely saves you hours of your life.
By automating everything that happens after you scan, you can finally stop worrying about missing a valid business expense. It turns a tedious chore into a single, simple action.
A Few Common Scanning Questions
Even with the best instructions, you're bound to run into a few specific questions once you get started. Let's clear up some of the most common things people ask about scanning and emailing documents.
Can't I Just Take a Photo With My Phone?
You can, but you probably shouldn't. At least not for anything important. Snapping a quick picture is fine for sharing notes with a friend, but for any kind of professional document, it's a bad look.
A proper scan, whether from an app or a machine, is designed to create a flat, clean digital copy. It gets rid of weird angles, pesky shadows, and boosts the text so it's easy to read. A photo just looks… well, like a photo. It’s often skewed, poorly lit, and can make you seem unprofessional.
What's the Best File Format to Use?
Nine times out of ten, PDF is your best friend. It's the universal standard for a reason. A PDF locks in the layout, so what you see is what they see, and it isn't easily editable. This makes it perfect for official stuff like contracts, invoices, or signed forms.
JPGs are really just for images. If you have a multi-page contract, sending a single, neat PDF file is infinitely better than emailing a bunch of separate JPGs that your recipient has to piece together.
Help! My Scanned Document Won't Send!
This is almost always a file size issue. It's so easy to accidentally create a massive file, especially if you're scanning multiple pages in full colour at a high resolution. Most email services, like Gmail and Outlook, will block attachments bigger than 25MB.
If your email gets bounced back, check the file size first. That's the culprit 99% of the time. Before you do anything else, run your file through a free online PDF compressor. It can shrink the file down dramatically without making it look terrible.
Getting into the habit of checking the file size before you hit send can save you a lot of grief. A quick compression step takes seconds and ensures your important document actually arrives.
Tired of the endless cycle of scanning and emailing receipts just for your records? Receipt Router automates the entire process after the scan. Simply forward your scanned receipts to a unique address, and we'll automatically match them in FreeAgent and archive them in Google Drive. Start saving time with Receipt Router today.