How to Scan and Email Document: A Simple Guide
Knowing how to scan and email a document is a skill you'll use all the time. It's actually quite simple: you can use your phone's camera with a scanning app, like Google Drive or the built-in Notes app, or go the old-school route with a traditional scanner. Once you have a digital file (usually a PDF), you just attach it to an email and hit send.
Why Digitising Documents Is a Game Changer
Let's be honest, getting rid of paper clutter is a huge win for any small business or freelancer. Not too long ago, digitising documents felt like a proper chore, but these days, the tech has made it ridiculously easy. You don't need a bulky, expensive machine anymore to get a high-quality digital copy of your paper invoices, contracts, or receipts.
This move to digital is about so much more than just a tidy desk, though. It's really about being more efficient and having everything at your fingertips. Once a document is scanned, you can find it with a quick search, share it in a heartbeat, and keep it safe in the cloud. Imagine pulling up an important contract on your phone while on the train, or finding a receipt from last year without having to rummage through a dusty box.
For business owners, this translates to real-world benefits:
- Faster Workflows: You can send invoices to clients the second they're ready.
- Improved Organisation: No more lost receipts or frantic searches for paperwork when the tax deadline is looming.
- Enhanced Security: Digital files can be encrypted and backed up, which protects them from things like fire, floods, or just a spilled coffee.
- Better Collaboration: Share documents effortlessly with your accountant, business partner, or anyone on your team, no matter where they are.
A well-organised digital system is the backbone of modern bookkeeping. Being able to quickly scan and email a document is the first step towards a more efficient, less stressful financial workflow for your business.
This guide will walk you through everything you need to know. We’ll cover how to get crisp, professional-looking scans using both your smartphone and a dedicated scanner. You can learn more about building a solid digital workflow by exploring different document management systems. We'll also get into the best ways to email your files securely and even show you how to automate the whole process to save yourself a ton of time.
Got a Smartphone? You’ve Got a Scanner.
Believe it or not, the phone in your hand is one of the most powerful tools you have for keeping your paperwork in order. Long gone are the days of needing a clunky machine hogging space on your desk. With the right app, your phone can create crisp, clear digital copies in a flash.
If you’re on an iPhone, the built-in Notes app has a surprisingly brilliant document scanner hidden inside. For Android users, the Google Drive app does the same job beautifully. Both are designed to take a quick snap and turn it into a perfectly cropped, easy-to-read file, which is a lifesaver when you need to scan and email a document on the move.
Getting a Flawless Scan Every Time
Just pointing your phone at a piece of paper and hoping for the best rarely works out. A few simple tweaks can elevate your scan from a blurry mess to a professional-looking document.
-
Lighting is everything. Find a spot with bright, indirect light. Think near a window on an overcast day. Avoid harsh overhead lights or using your phone's flash, as they create nasty glare and shadows that can make text unreadable.
-
Create some contrast. Always place your document on a flat surface that’s a different colour. A white receipt on a dark wooden table is perfect. This contrast is what helps the app’s software find the edges of the page and crop it neatly for you.
-
Get your angle right. Hold your phone directly above the document, making sure it’s parallel to the page. If you hold it at an angle, the scan will look skewed and distorted. Most apps are smart enough to automatically snap the picture once they detect you’ve got it lined up perfectly.
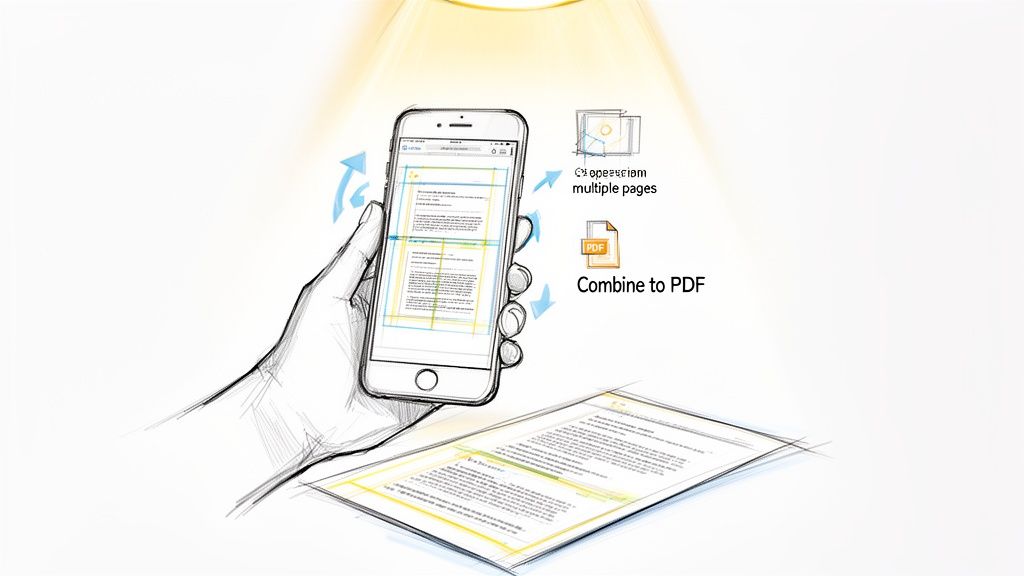
Dealing With More Than One Page? No Problem.
Scanning a multi-page contract or a long invoice? Please don't be that person who emails a dozen separate JPEGs. It's a nightmare for the person on the other end. The trick is to combine everything into a single, multi-page PDF.
Thankfully, both the iPhone Notes and Google Drive apps make this incredibly easy. After scanning your first page, you’ll see an option like "Add Scan" or "Keep Scanning". Just tap it, scan the next page, and repeat. The app will stitch them all together into one tidy PDF file.
My two cents: Before you hit save, always do a quick flick-through. Make sure all the pages are in the right order and that every single one is crystal clear. It takes about ten seconds and can save you from the headache of having to do it all over again.
Why This Matters for UK Businesses Right Now
The ability to scan documents on the fly isn't just a nice-to-have anymore; it's become essential. The UK's document management industry has ballooned to an estimated £1.4 billion in revenue, largely because of the massive shift to hybrid work.
With 28% of working adults in the UK now splitting their time between home and the office, being able to quickly digitise a paper receipt or invoice is critical. It’s how freelancers and small businesses keep their records organised and accessible from anywhere. If you want to dive deeper, the full IBISWorld report on document management has some fascinating insights. This is exactly why a good receipt scanner app has become such a vital tool in any modern business toolkit.
Getting High-Quality Results with a Traditional Scanner
While your phone is brilliant for a quick snap, there are times when only a proper flatbed or all-in-one scanner will do the job right. For important stuff like official documents, detailed contracts, or anything where the quality really matters, a dedicated scanner delivers that crisp, professional finish.
These machines are built for one purpose, and they nail it. They give you a level of control over the final scan that a phone just can't match. It’s a bit like the difference between a point-and-shoot camera and a full-blown DSLR, since the scanner gives you all the tools to get every detail perfect.
This level of precision is exactly why the UK document scanner market, already worth USD 277.15 million, is still growing. It’s expected to hit USD 454.65 million by 2033, largely because small businesses need reliable ways to go digital. Many modern scanners even come with advanced OCR technology that boasts 99% accuracy, pulling data from your documents perfectly for automated bookkeeping. You can dig into the document scanner market stats to see how these trends are changing the game.
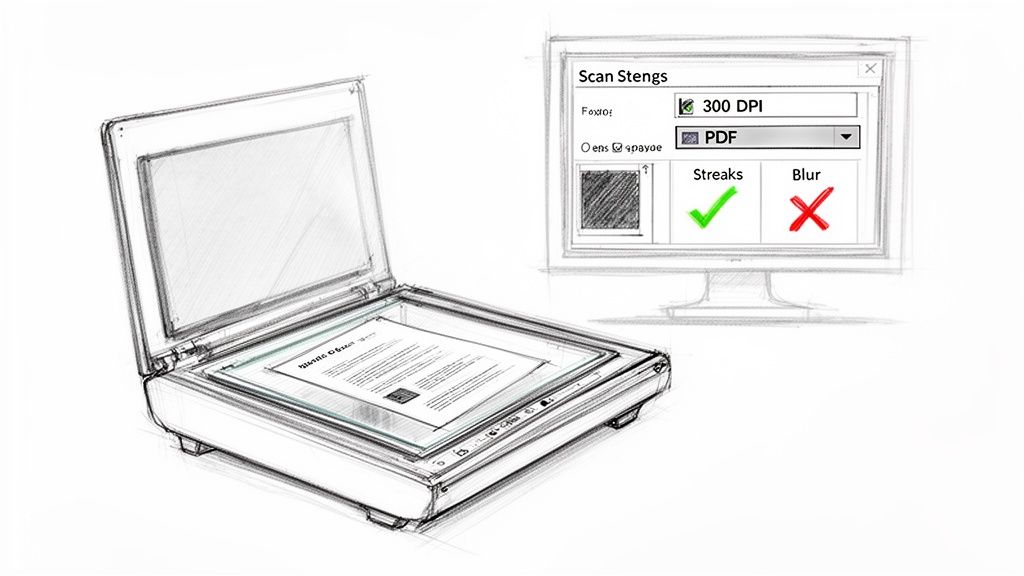
Dialling In the Perfect Scan Settings
Hold on before you hit that scan button! Taking a moment to get the settings right in the software will save you a world of frustration and stop you from having to rescan everything later.
Your scanner's software will probably show you a few key choices. The big three you need to care about are resolution, file format, and colour mode.
-
Resolution (DPI): This stands for Dots Per Inch, and it’s all about how sharp your scan will be. For most text documents, 300 DPI is the magic number. It’s perfectly clear for reading but keeps the file size small enough to email easily.
-
File Format: You’ll likely see options for PDF and JPEG. For pretty much any business document, especially multi-page things like reports or contracts, PDF is the way to go. It wraps everything into one neat file and everyone can open it. JPEGs are really only for single, high-quality photos.
-
Colour Mode: If you’re just scanning a standard black-and-white invoice or letter, choose "Black & White" or "Greyscale". This one simple trick can slash the file size compared to scanning in full colour.
Troubleshooting Common Scanner Problems
Even the most reliable scanner can have a bad day. If you’re getting annoying streaks or blurry images, here are a couple of quick things to try before you lose your cool.
A clean scanner is a happy scanner. Dust, fingerprints, or smudges on the glass are the number one cause of lines and streaks on the final scan. A quick wipe with a microfibre cloth often fixes it instantly.
If your scans are coming out blurry, just double-check the document is lying completely flat on the glass and the lid is pressed down firmly. And for those pesky connection problems, you can’t beat the old classic: turn it off and on again. Restarting both the scanner and your computer usually sorts things out.
Getting Your Scanned Document Emailed Securely
Alright, so you've got a crisp, clean digital version of your document. The next step is getting it where it needs to go, but just hitting 'attach' and 'send' isn't always the best move. How you email that file can make a real difference.
First things first, let's talk about file size. It's the classic email blunder: you send off a massive, high-quality scan, only for it to bounce right back. Most email services, like Gmail and Outlook, cap attachments at around 25MB. It’s a surprisingly easy limit to hit, especially with multi-page, colour PDFs. It's always worth keeping an eye on the common email attachment size limits to avoid that frustrating "undeliverable" message.
If your file is a bit on the chunky side, you have a couple of solid options:
- Try scanning it again at a lower resolution. For most invoices or contracts, 200-300 DPI is perfectly legible and will seriously shrink the file size. You don't need a 600 DPI scan unless it's a high-detail photograph.
- Use a file-sharing service. For really big files or a whole batch of them, popping them into Google Drive, Dropbox, or OneDrive is the way to go. Just upload the file and share the link in your email. It's often quicker and doesn't clog up your recipient's inbox.
How to Write an Email That Actually Gets Actioned
The email itself is just as important as the attachment. A clear, concise message prevents your document from getting lost in a busy inbox or causing confusion.
Your goal is to make it dead simple for the other person to know what they're looking at and what you need from them.
- Nail the Subject Line: Be specific! Instead of a vague "Scanned Document," try something like "Signed Contract: Project Zebra" or "Invoice #4521 for Your Records." This instantly tells the recipient what's inside and makes it easy to search for later.
- Keep the Body Brief: Get straight to the point. A simple, "Hi Mark, please find the signed agreement attached. Let me know if you need anything else," is all it takes.
- Don't Forget a Professional Sign-off: A simple closing with your name and contact info ties everything together nicely.
This whole process is about clear, professional communication. For a few more pointers on getting the basics right, our guide on how to attach pictures and files in an email has some great tips.
A Quick Word on Protecting Sensitive Information
As a UK business owner, you’re often handling things like client invoices, personal data, or confidential contracts. Email is incredibly convenient, but it's not a digital vault. Taking an extra moment to think about security is non-negotiable for keeping trust and staying on the right side of privacy rules.
When sending sensitive documents, always pause and think about security. A little bit of caution goes a long way in protecting both your business and your clients' information.
If you're sending something truly confidential, like financial records or anything with personal ID details, it’s a smart move to password-protect the PDF before you attach it. You can do this easily within Adobe Acrobat or most other PDF software.
Then, just send the password to your recipient through a different channel, like a quick text or a phone call. It’s a simple two-step process that adds a surprisingly effective layer of security, making sure only the right person can access that information.
Automating Your Document Workflow for Better Efficiency
Knowing how to scan and email a document is a solid start, but let's be honest, for busy freelancers and small business owners, that's just the beginning. The real game-changer is building a system that handles this stuff for you, especially when it comes to the dreaded task of bookkeeping.
Picture this: you've just paid for a client lunch. You snap a quick picture of the receipt with your phone, email it to a special address, and that's it. You're done. In the background, that receipt is being automatically saved, categorised, and logged in your accounting software. Say goodbye to those Sunday nights spent wrestling with a shoebox full of crumpled paper.
Introducing Smart Automation Tools
This isn’t some futuristic dream; it’s exactly what tools like Receipt Router were built for. Think of them as a clever middleman that connects your inbox directly to your financial records.
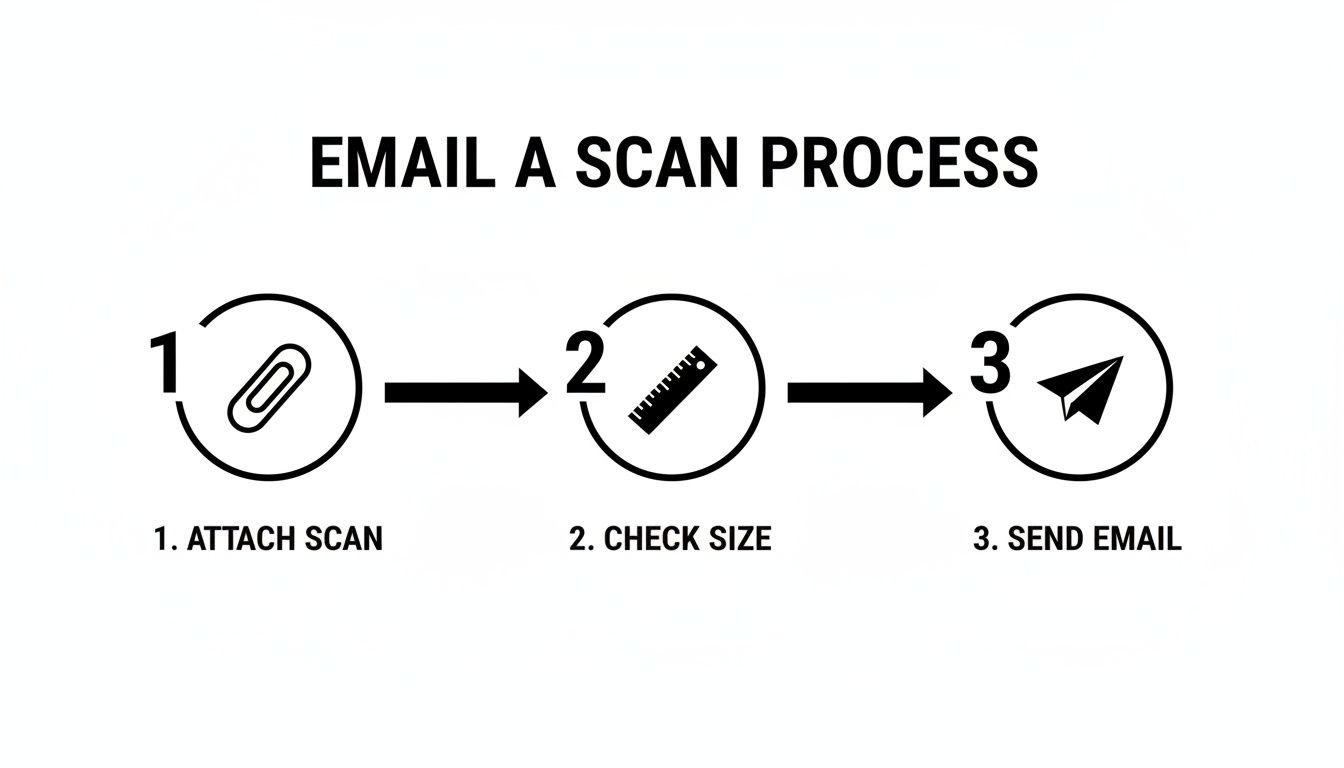
While the manual process is simple enough (attach a scan, check the size, hit send), automation puts the whole thing on autopilot.
These tools give you a unique email address just for your business paperwork. Any document you forward there gets processed automatically. It's an incredibly straightforward but powerful trick to make sure every last deductible expense is captured without adding a single thing to your to-do list. To really take things up a notch, it’s worth checking out the best document automation software platforms to see how they can manage your scanned documents.
Setting Up a Hands-Off System
The best part? You can make this whole process completely automatic by setting up a forwarding rule in your email account. Let’s run through how to do this in Gmail, since it’s a go-to for so many UK business owners.
It’s surprisingly quick to set up:
- Find Gmail's Filters: First, head into your Gmail settings and click on the "Filters and Blocked Addresses" tab. From there, select "Create a new filter."
- Tell Gmail What to Look For: In the "From" field, pop in the email addresses of suppliers that regularly send you invoices or receipts. Think of your mobile provider, software subscriptions, or online shops. You can list several by separating them with "OR."
- Set the Forwarding Rule: Click "Create filter" and tick the box that says "Forward it to." This is where you'll paste in the unique email address provided by your automation tool, like Receipt Router.
And that's it. Taking five minutes to set up an auto-forwarding rule creates a seamless pipeline for your financial documents. Every important email gets sent for processing without you lifting a finger.
This small change transforms the manual chore of scanning and emailing into a slick, automated system that can save you hours of admin time each month. More importantly, it gives you an accurate, up-to-the-minute record of all your expenses, which is a lifesaver when tax season rolls around. It’s all about working smarter, not harder.
Got Questions About Scanning and Emailing? I've Got Answers
Once you get into the swing of scanning and emailing your documents, you'll probably run into a few common sticking points. Don't worry, everyone does. Let's walk through some of the questions I hear most often so you can build a system that just works.
What’s the Best Format for Saving Scanned Docs?
Nine times out of ten, PDF is your best bet. It’s the universal language of business documents for a reason. Anyone on any device can open a PDF, it locks in your formatting so nothing gets messed up, and it’s brilliant for bundling multi-page things like contracts or lengthy reports. A searchable PDF is also a lifesaver when you need to find something later.
The only real exception? High-quality images. If you're scanning a professional photo or a super-detailed graphic, a high-resolution JPEG might be better to keep all that visual detail sharp. But for the everyday stuff, like invoices, receipts, and letters, PDF is the way to go.
Help! My Scanned File Is Too Big to Email.
Ah, the classic "attachment too large" error. We've all been there. Most email providers tap out at around 25MB, and it’s surprisingly easy to hit that limit with a detailed scan.
Thankfully, the fixes are pretty straightforward:
- Tweak your scanner settings and try again. This is often the quickest solution. Scan your document again, but this time at a lower resolution. For most paperwork, 150-200 DPI (dots per inch) is perfectly legible and creates a much smaller, more email-friendly file.
- Use a file compression tool. A quick search for "PDF compressor" will bring up tons of free online tools. They can shrink your file size significantly, usually without any noticeable drop in quality.
- Send a link, not the file. This is the most reliable method for hefty files. Just upload the document to a cloud storage service like Google Drive or Dropbox and share a secure link in your email. Problem solved.
How Do I Get Better Scans Using My Phone?
You don't need a fancy scanner to get professional results. A great phone scan really just comes down to your setup. First, lighting is everything. Find a spot with bright, indirect natural light if you can, as it helps you avoid weird shadows and glare from ceiling lights.
Next, lay your document on a flat, plain surface that contrasts with the paper (e.g., a white invoice on a dark wooden table). This simple trick helps your scanning app find the edges perfectly. Finally, hold your phone steady, directly above the document, and make sure it's parallel. This avoids any skewed or distorted results.
It's a simple trick, but making sure your document is on a flat, contrasting background is the secret to getting sharp, professional-looking scans with your phone every single time. It makes a world of difference.
Is It Safe to Email Scanned Copies of Sensitive Stuff?
This is a really important one. Standard email isn't built for Fort Knox-level security. For your average receipt or a routine invoice, it's generally fine. But when you’re dealing with highly sensitive information, such as passports, bank statements, or anything with personal ID numbers, you need to take extra precautions.
A simple but effective step is to password-protect the PDF before you even think about attaching it. Most PDF software can do this. Then, just share the password with the recipient through a different channel, like a text message or a quick phone call. For the ultimate peace of mind, you might want to look into a dedicated secure file transfer service instead of using email at all.
Ready to stop wrestling with paperwork and put your document management on autopilot? Receipt Router gives you a unique email address to forward your receipts and invoices to. We automatically match them to your transactions in FreeAgent and back everything up to Google Drive, saving you hours of admin. See how it works at https://receiptrouter.app.